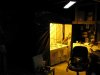
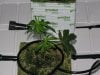
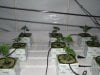
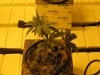
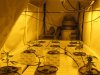
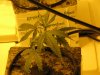
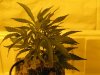
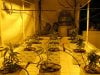
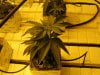
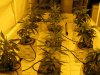
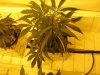
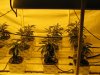
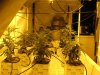
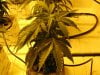
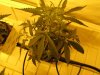
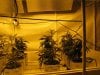
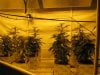
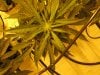
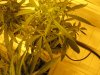
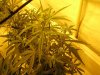
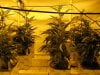
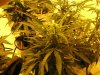
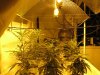
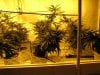
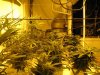
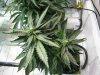
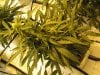
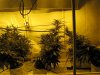
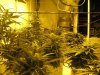
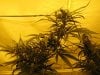
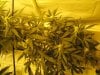
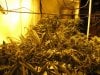
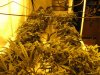
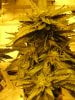
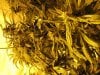
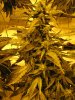
So I'm about half way into week 5 of my my first grow and things are coming along very nicely.
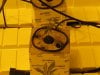
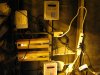
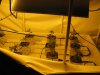
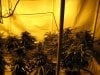
Equipment:
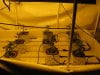
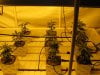
2 1000 watt hps lights
3x6 tray
top drip hydro with rockwool medium
CO2 system
portable AC
coco carbon filter
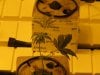
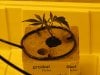
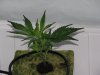
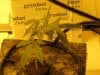
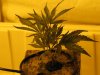
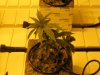
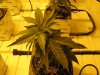
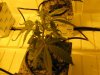
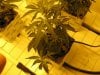
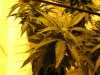
Clones:
4 purple kush
4 king kush
4 ak-47
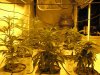
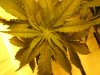
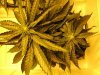
I started this taking pics almost every day but lately I've been doing every few days. I'll try to get them all up tonight.
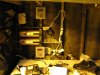
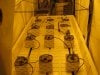
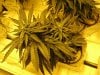
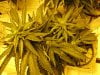
Equipment:
2 1000 watt hps lights
3x6 tray
top drip hydro with rockwool medium
CO2 system
portable AC
coco carbon filter
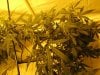
Clones:
4 purple kush
4 king kush
4 ak-47
I started this taking pics almost every day but lately I've been doing every few days. I'll try to get them all up tonight.