Ok, almost there...
Decided, wtf, i have a sterilizer/pressure cooker, why not use it?
Pressure cooker (PC) sterilizing process:
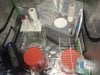
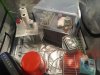
1. Get all your sh!t together, and prepare.
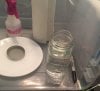
2. Fill PC with water, to appropriate level, insert wire rack/trivet to keep contents out of water.
View attachment 4348870
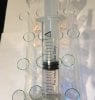
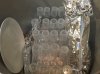
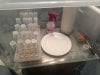
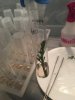
3. Add ~10mL (~3/4-1” depth) nutrient solution in each test tube, place cap on tubes but do not tighten (unless you want a f’n mess), put tray with nutrient tubes in PC.
View attachment 4348875
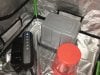
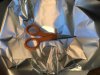
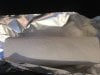
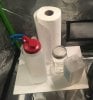
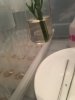
4. Loosely wrap scalpel, forceps, scissors, paper towels in aluminum foil, and place in PC.
View attachment 4348871 View attachment 4348872 View attachment 4348873 View attachment 4348874
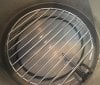
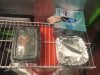
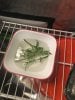
5. Put cutting plate in PC.
View attachment 4348877
6. Put lid on PC, tighten appropriately, open steam valve, turn on heat.
7. When steam starts coming out of valve (mine takes about 50 mins to get up to steaming speed), let run for 5 minutes, then close steam valve/put on steam weight, when pressure builds to 15psi, run for 20 mins.
8. After running for 20 mins @15psi, shut off heat. Let cool to room temp (overnight), DO NOT OPEN until you have moved pressure cooker into your sanitized “lab”.
9. When ready to do your tissue work, open PC, arrange items for good workflow.